
I started with the idea of making yogurt candy, I tried a couple of times but wasn’t successful because I didn’t want to add the amount of sugar the recipes were asking for, too much! So I thought I better try with something easier which is chocolate and make it different colors + add edible glitter.
I had fun going to the store and choosing molds, candy melt bags and glitter; I actually didn’t find the glitter but found shimmery dust which looks nice too.
Valentine Candy Hearts:
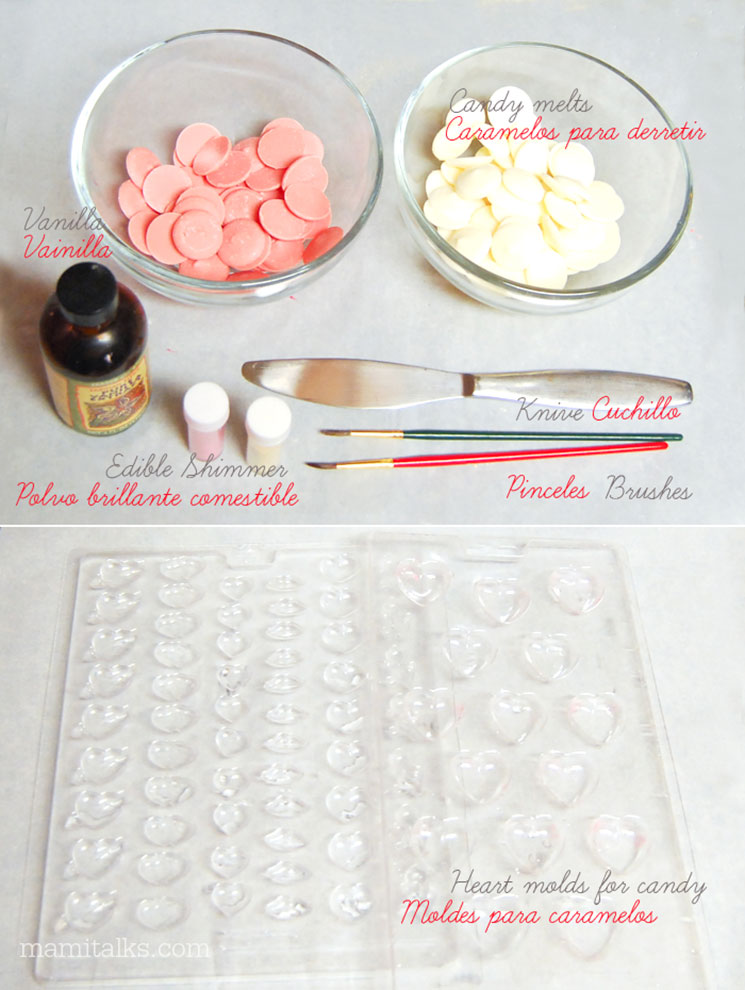
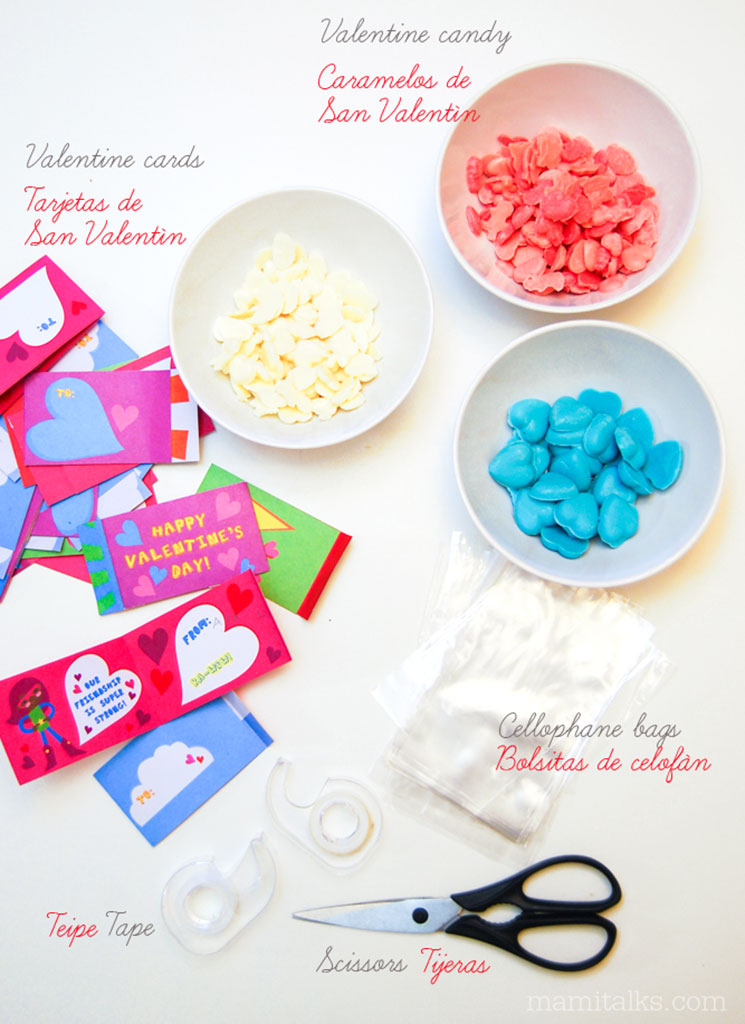
Supplies:
- Edible Shimmer Dust
- Candy melts
- Brushes
- Vanilla or lemon extract
- Knife
- Heart and valentine molds
- Mix the shimmer dust with some extract and paint the bottom of each mold. Let it dry a little.
- Melt the candy melts as directed in the package and fill in the mold. Shake it against the table so air bubbles come out. Take off excess with a knife and let it dry.
- After about 10 to 15 min fold the mold like an ice cube tray to let the hearts come out.
- Wash the mold with warm water and soap and repeat the process until you have the amount you want.

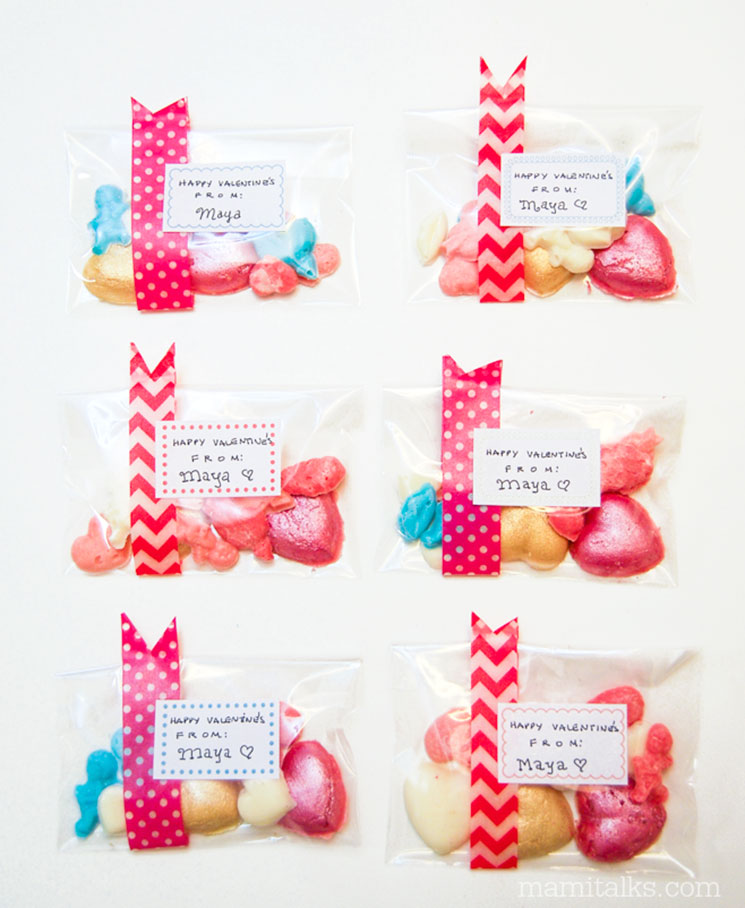
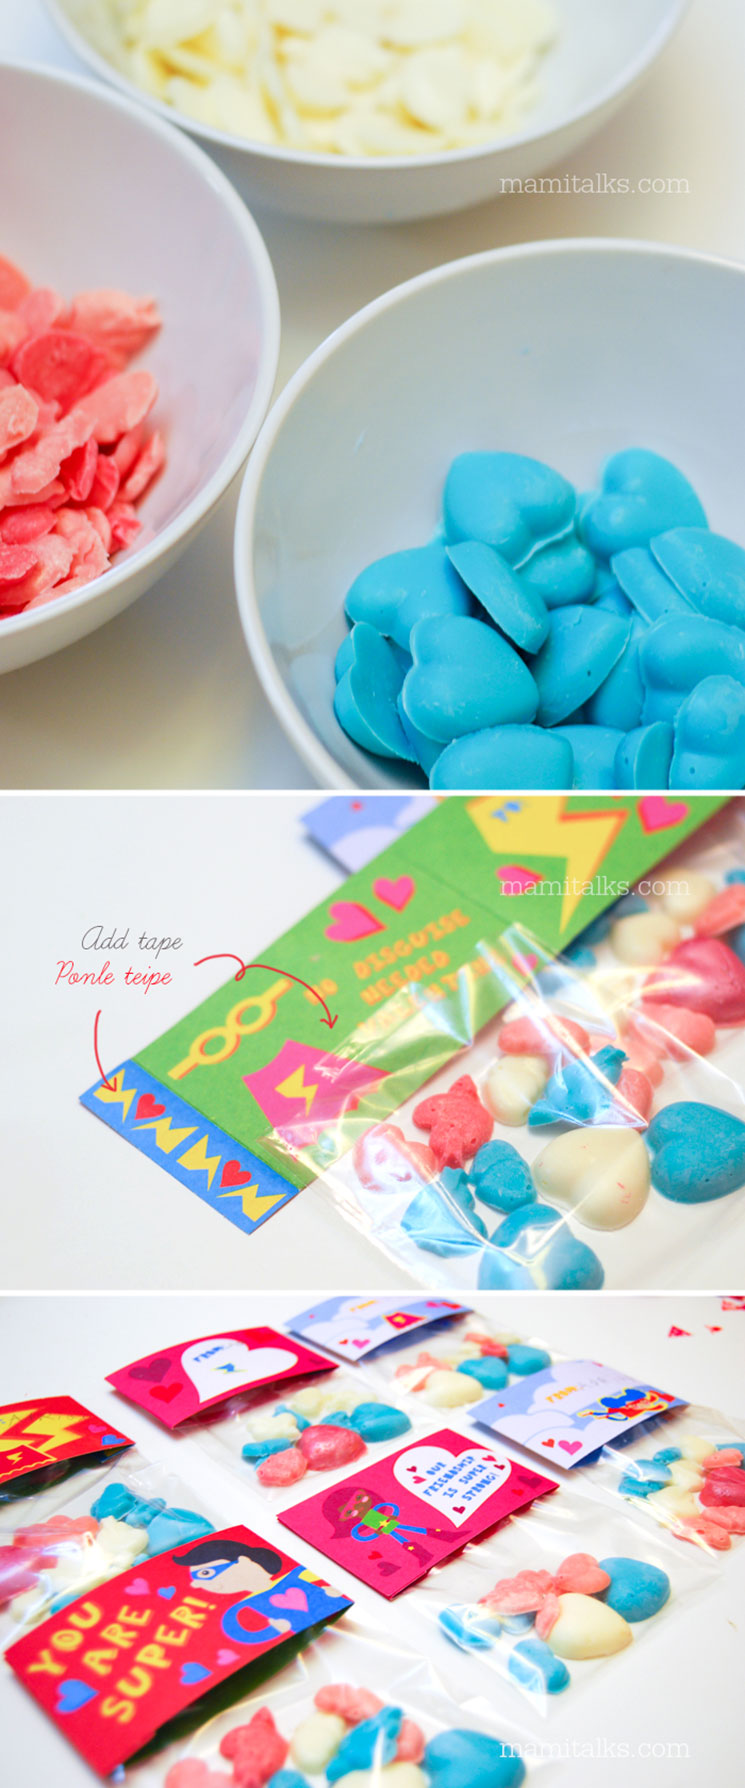
I also found a mold that had lips, cupids and other types of hearts so I made a combination of shapes and in different colors.
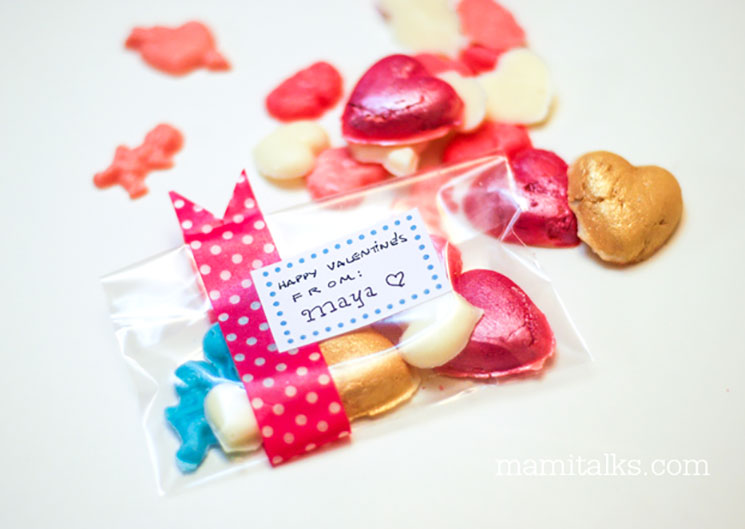
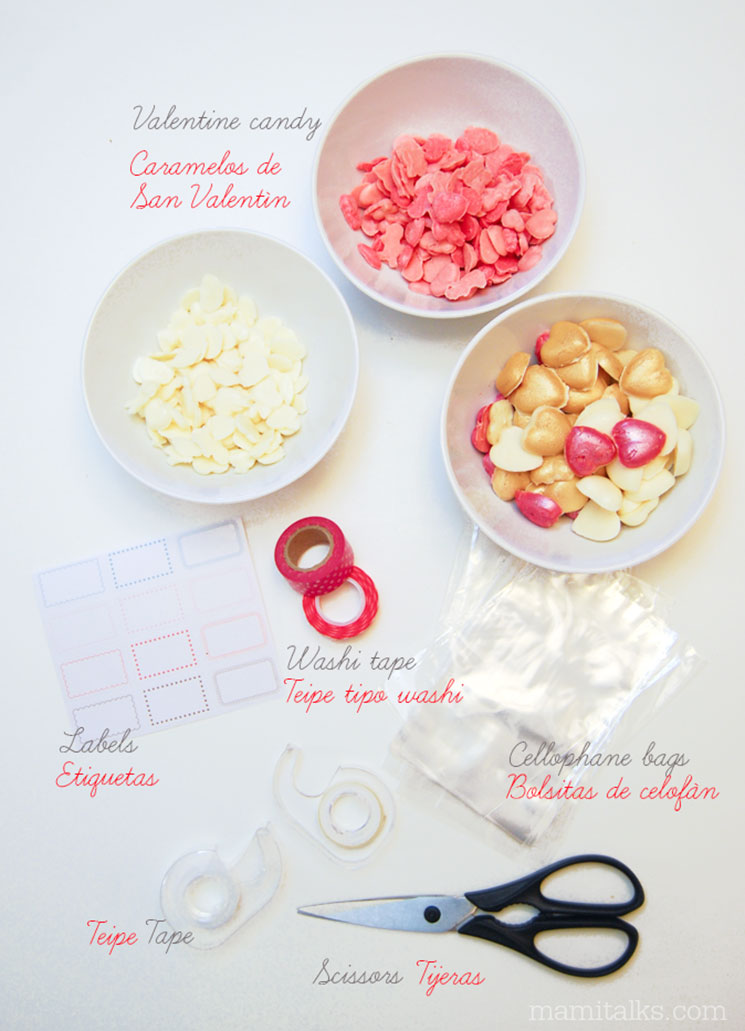
To make the baggies:
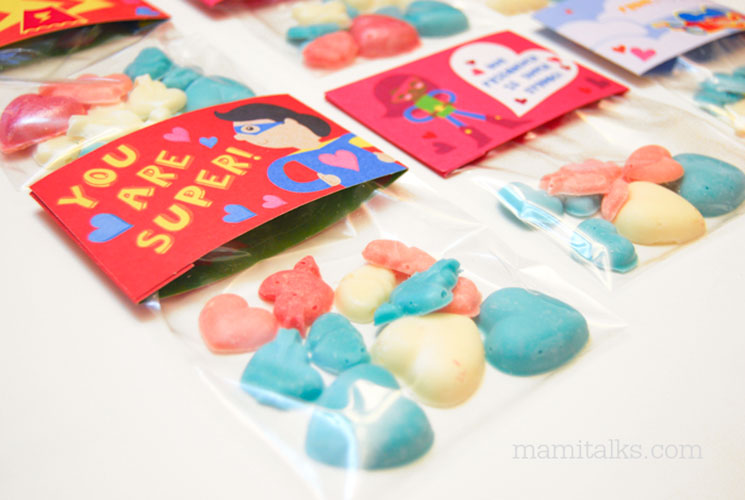
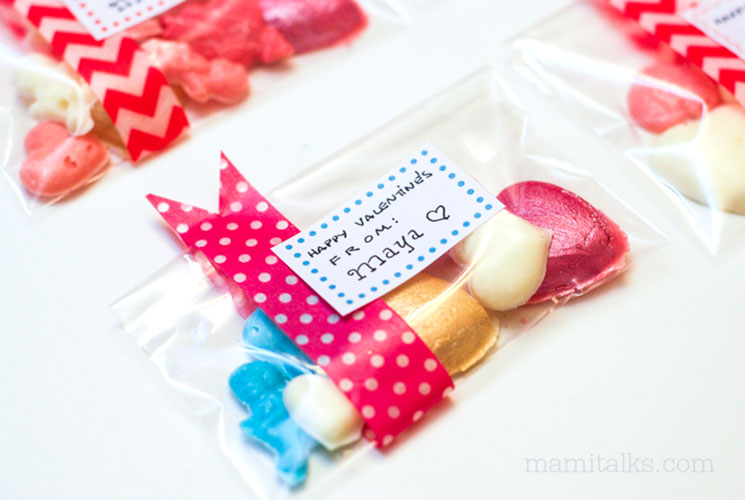
- I used cellophane bags, washi tape, and labels. My bags were a little bit too big and I cut them in half, filled it carefully with the candy and folded it back and taped it.
- Then I wrapped one side of the baggy with washi tape and cut the top like the end of a ribbon. Before placing the label, fill it out with the message. The labels weren’t so big so I had to write it very tiny and I’m not good at the smart valentine messages so Happy Valentine’s was ok with me! I couldn’t even fit the word “day”!
Now for Adrian’s valentines I wasn’t planning on making more candy, I just got a box of super hero cards with stickers for $99. But he was looking at all this and he also wanted to give candy, but he said: Mami, why does it have to be pink? hahaha, so I got some blue candy melts to include and that matched the cards I bought.
-ESPAÑOL-
CORAZONES DE CARAMELO PARA SAN VALENTÍN
Empezé con la idea de hacer caramelitos de yogurt, traté un par de veces pero no me salieron y es que las recetas indicaban que les echara tanta azúcar que no me atreví! Así que probé con chocolate que es más común y pensé en pintarlo de diferentes colores y además echarle escarcha comestible.
Bueno, al empezar con los chocolates descubrí que no puede pintar el chocolate así de fácil, resulta que al ponerle un color, el chocolate se vuelve ñoña como tipo plastilina, lo sé ya porque después de tratar varias veces averigué y aprendí. Menos mal que me pasa esto y así aprendo (casi como aquella vez con la gelatina!), así que los hice con caramelos cremosos, vienen en paqueticos listos para derretir y parecen hasta chocolate blanco.
Me divertí escogiendo los moldes y los colores en la tienda. De hecho no encontré escarcha comestible pero encontré un polvito brillante bonito.
Caramelos de corazón:
Ingredientes:
- Polvo brillante comestible
- Caramelo para derretir (Candy Melts)
- Pinceles
- Estracto de vainilla o de limón
- Cuchillo
- Moldes de corazones o de San Valentín para hacer caramelos
- Mezcla el polvito brillante con un poquito de vainilla y con el pincel pinta la base de los moldes. Deja que seque.
- Derrite el caramelo según las instrucciones del paquete y viértelo en el molde. Dale golpecitos al molde contra la mesa para sacar cualquier burbuja de aire. Pasa el cuchillo por todo el molde para quitar el exceso de caramelo y déjalo secar.
- Después de unos 10 a 15 minutos agarra el molde como tipo hielera y deja que caigan los caramelos uno a uno con cuidado.
- Lava el molde con agua tibia y jabón y repite el proceso hasta que tengas todos los caramelos que quieras hechos.
También encontré moldesitos con formas de San Valentín: cupidos, labios y más así que hice de variadas formas y colores.
Para hacer las bolsitas:
- Usa bolsas de celofán chiquitas, teipe tipo washi y etiquetas. Las bolsitas que yo usé eran un poco grandes así que las corté por la mitad mas o menos. Rellena con los dulces, dobla la parte de arriba un poquito y ponles un teipe para sellar.
- Luego envuelve un solo lado (vertical) con teipe washi (ver la foto al principio del post) y corta las puntas estilo cinta picada. Antes de pegar la etiqueta escribe el mensaje y listo! Yo no soy muy buena con mensajes creativos como hacen en inglés así que los míos dicen Feliz San Valentín! Ni siquiera me cupo la palabra “día”!
6 Comments
Vane Aguirre
February 14, 2013 at 4:52 pmQue lindos!
Dariela
February 14, 2013 at 5:43 pmGracias Vane!
Natasha Baez
February 18, 2013 at 12:19 amSuper el proyecto….era chocolate o caramelo?
Dariela
February 18, 2013 at 5:35 amGracias Nata! Es caramelo cremoso pero parecía chocolate. Saben a vainilla!
Libbey
February 18, 2013 at 5:26 amQue chevere! Me encanta este idea — y tengo que empezar de usar Washi Tape!
Dariela
February 18, 2013 at 5:36 amGracias! Siii, el washi tape es tan chévere!