
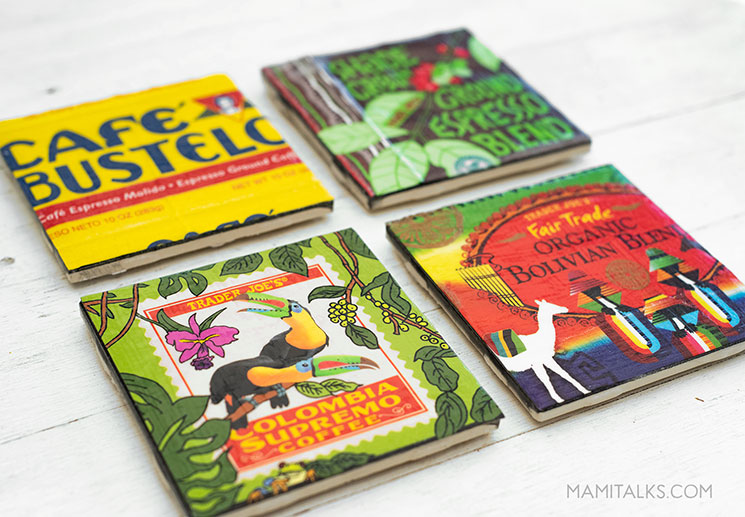
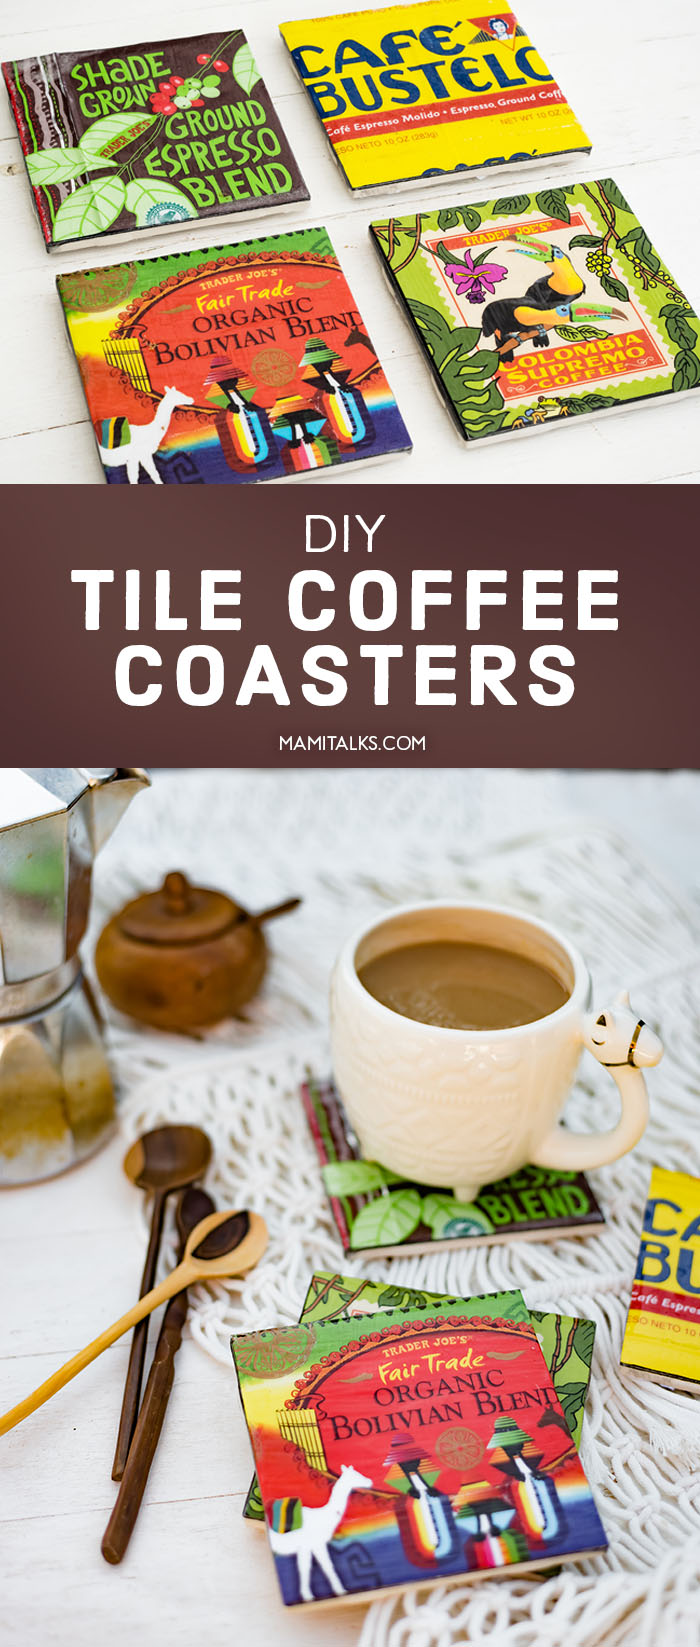
I love how easy it is to make tile coasters, I made them the first time with the kids for Derek out of beer packaging, then I made some Día de los Muertos coasters and I’ve been saving these favorite coffee packagings since forever to make them for myself!
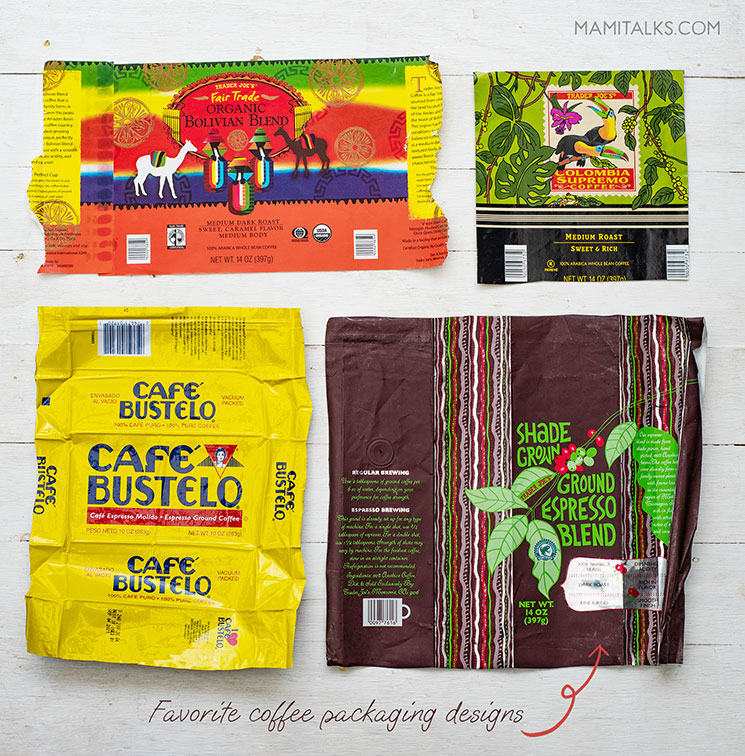
If you love coffee and design, this is perfect for you! Grab your favorite coffee packaging designs and let’s get started!
Keep in mind you might want to save the wraps under heavy books for a while so that they are straight at the time you make your tile coasters. Some of them won’t keep straight no matter how long but at least you will try!
DIY COFFEE TILE COASTERS
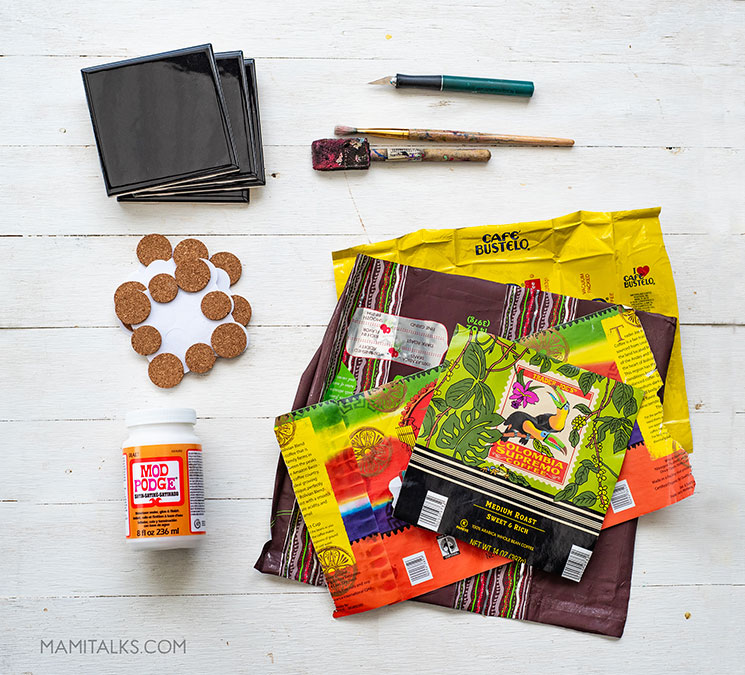
SUPPLIES
- Your favorite coffee packaging
- Craft knife or scissors
- Waterbased sealer (I recommend the matte finish from Mod Podge)
- Foam brush
- Acrylic sealer in spray
- 4 Ceramic Tiles 4 1/4″
- 16 Felt or cork pads 3/4” diameter or smaller OR a big square cork pad for each coaster works fine too
INSTRUCTIONS:
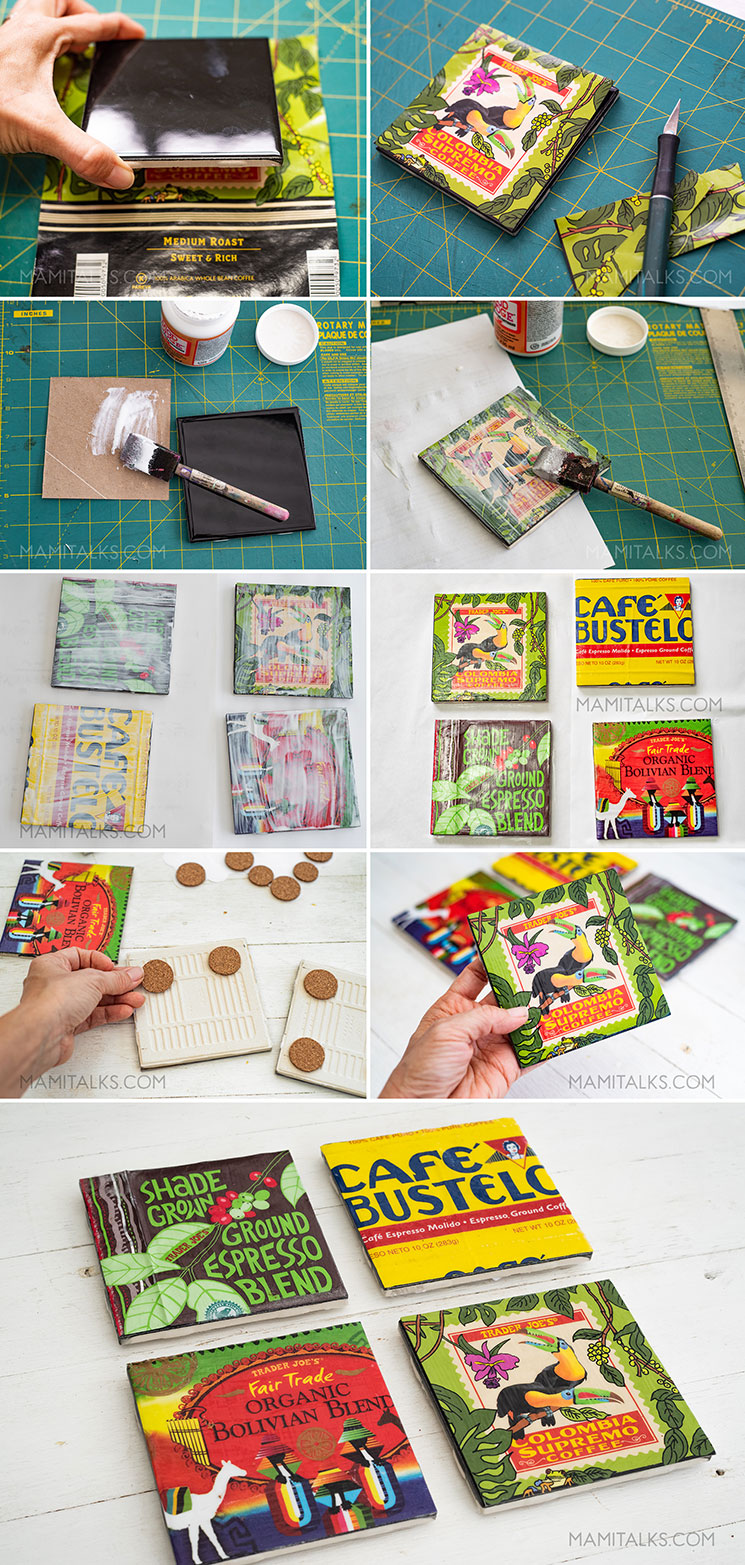
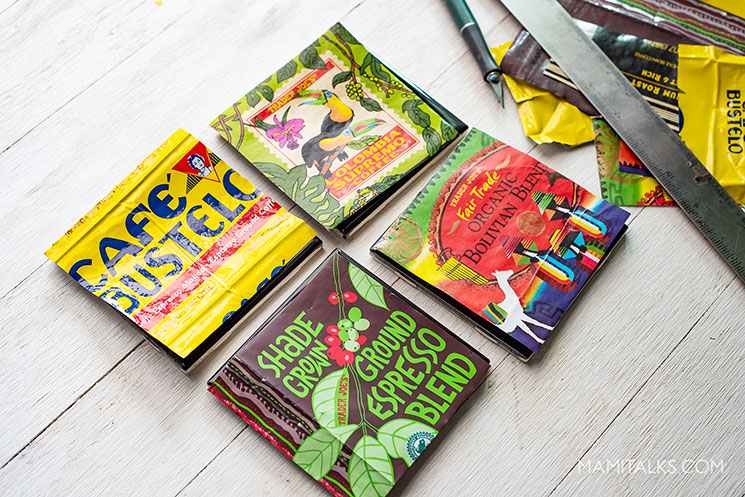
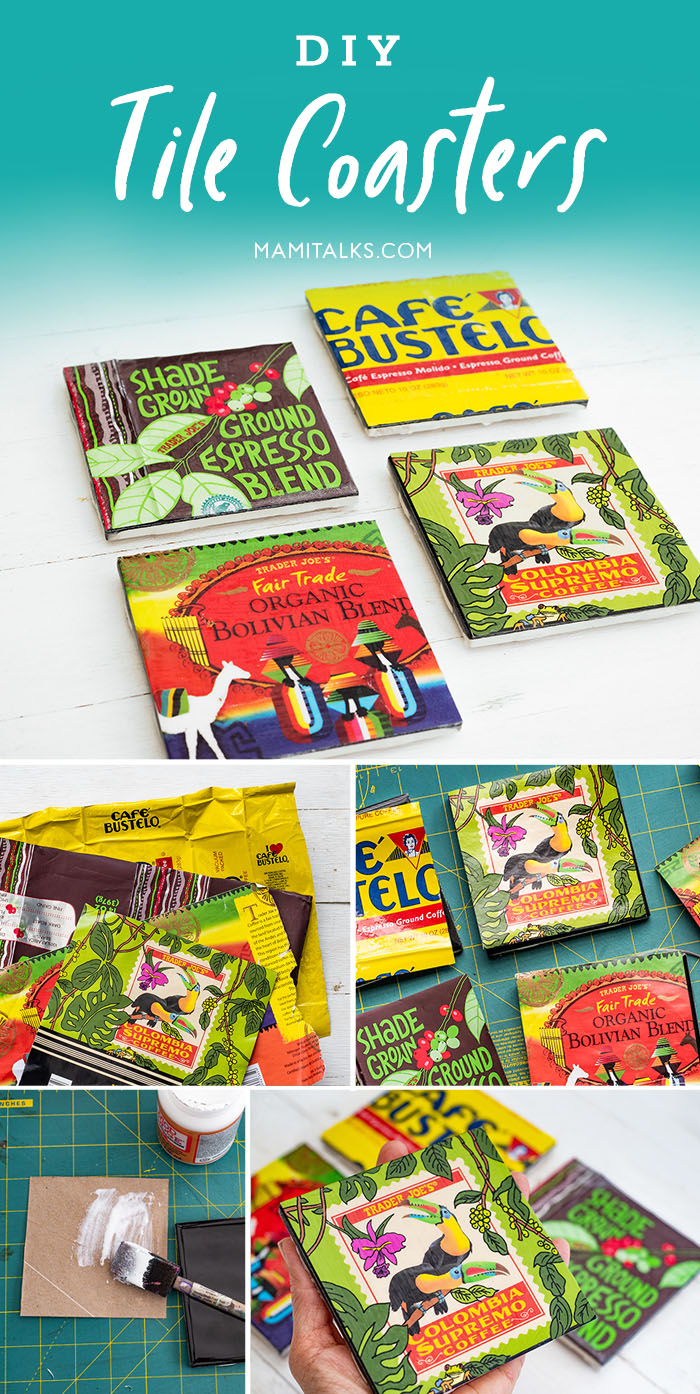
- Place a tile on top of each coffee art or on the bottom and decide what exactly you would like to show. Sometimes it will look good even if it’s not the exact middle of the design.
- Cut the design carefully with a craft knife or with scissors. You can also measure your square for about 4″ x 4″ and that way you’ll leave a border of tile around the design if that’s what you like. I wanted them to the edge.
- Apply a thin coat of mod podge to the back of the coffee art and glue to the top of the tile, move it slowly until it is perfectly placed.
- Apply a top coat and let it dry for about 30 minutes or more.
- Do a second and third coat waiting at least 30 minutes in between each coat. Let it dry overnight.
- Spray the acrylic sealer, 2 coats is good.
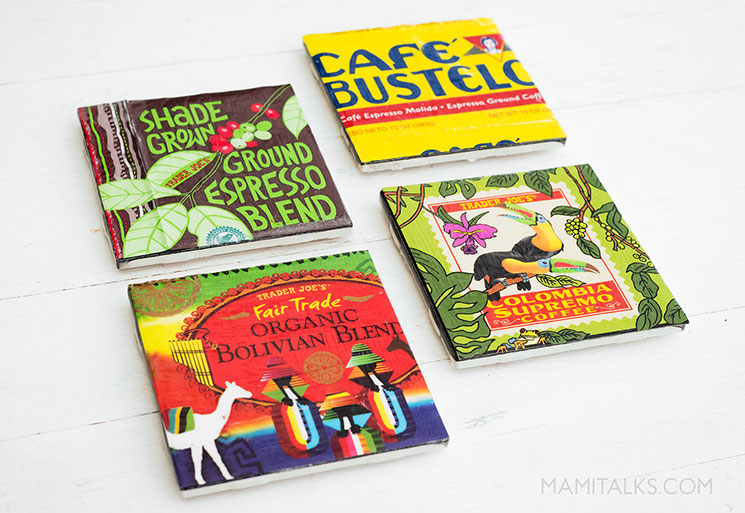
- Adhere 4 felt/cork pads to each coaster and you are done!*
*For best results, I recommend letting them dry for days before using them
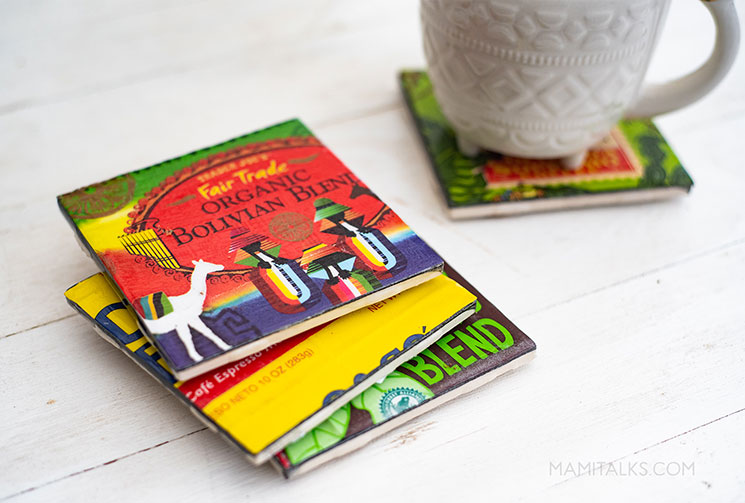
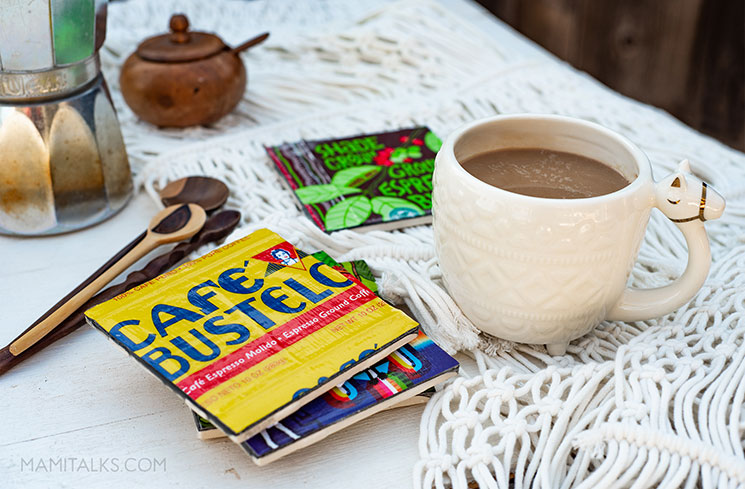
I just made these tile coasters during quarantine, it is the perfect project to do little by little with no rush. You could collect your coffee art for a while and meanwhile order your supplies from Amazon! I am excited to use these in our new house!
If you make them show me by commenting here or tagging me on social media!! —>Insta, FB, and Twitter.

ESPAÑOL
PORTAVASOS DE BALDOSAS CON DISEÑOS DE CAFÉ
Me encanta lo fácil que es hacer posavasos con baldosas, los hice la primera vez hace años con los niños para regalarle a Derek y usamos empaques de cerveza, luego hice algunos portavasos del Día de los Muertos y he estado guardando algunos de mis empaques de café favoritos para hacerlos para mí!
Si te encanta el café y el diseño como a mi, ¡esto es perfecto para ti! ¡Agarra tus empaques de café favoritos y comencemos!
Ten en cuenta que es posible que quieras guardar las envolturas debajo de libros pesados por un tiempo para que estén menos doblados al momento de hacer los posavasos. A algunos de ellos nunca se les quitarán los dobleces por más que los dejes debajo de libros por años, pero al menos uno lo intenta!
PORTAVASOS DE BALDOSAS CON DISEÑOS DE CAFÉ
MATERIALES:
- Tu envase de café favorite
- Cuchilla, xacto o tijeras
- Sellador a base de agua (como Mod Podge, les recomiendo el acabado mate)
- Pincel tipo goma espuma
- Sellador acrílico en spray
- 4 baldosas de cerámicas cuadradas de tamaño 4 1/4 “
- 16 círculos de fieltro o corcho de 3/4 “de diámetro o menos O también sirve 1 cuadrado de corcho para cada portavaso
INSTRUCCIONES:
- Coloca una baldosa encima o abajo de cada empaque de café y decide exactamente qué quieres mostrar. A veces se verá bien incluso si no es la mitad exacta del diseño.
- Corta el diseño con cuidado con un xacto o con unas tijeras. También puedes medir un cuadrado de aproximadamente 4″ x 4″ y de esa manera dejarás un borde alrededor del diseño si eso es lo que le gusta. Yo hice los míos sin borde.
- Aplica una capa delgada de mod podge en la parte posterior del empaque de café y pégala en la parte superior de la baldosa, muévela lentamente hasta que quede perfectamente colocada.
- Aplica una capa superior y deja que se seque durante unos 30 minutos o más.
- Haz una segunda y tercera capa esperando al menos 30 minutos entre cada capa. Déjalo secar toda la noche.
- Rocía el sellador acrílico, usa al menos 2 capas.
- Pégle 4 circulitos de fieltro o corcho a cada posavasos por debajo y listo. *
* Para obtener mejores resultados, recomiendo dejarlos secar durante varios días antes de usarlos.
Acabo de hacer esto durante la cuarentena, es el proyecto perfecto para hacer poco a poco y sin apuros. Pueden aprovechar y coleccionar sus empaques de café por un tiempo y mientras tanto pedir los materiales en Amazon. ¡Estoy emocionada de usarlos en nuestra nueva casa!
Si lo hacen cuéntenme en los comentarios o etiquétenme en mis redes sociales! —>Insta, FB, y Twitter.
PIN THIS POST WITH THIS IMAGES:
2 Comments
Rachel Gooding
June 14, 2020 at 5:23 amWow really love these. Everyone thinks about accent cushions and throws but no one thinks of accent coasters!
Dariela Cruz
October 13, 2020 at 3:16 pmHehe, yes, great way to put it, accent coasters!