As I mentioned las Friday, I am loving the Dia de los Muertos, even though we don’t have a altar at home yet, I will bring the tradition slowly to our family.
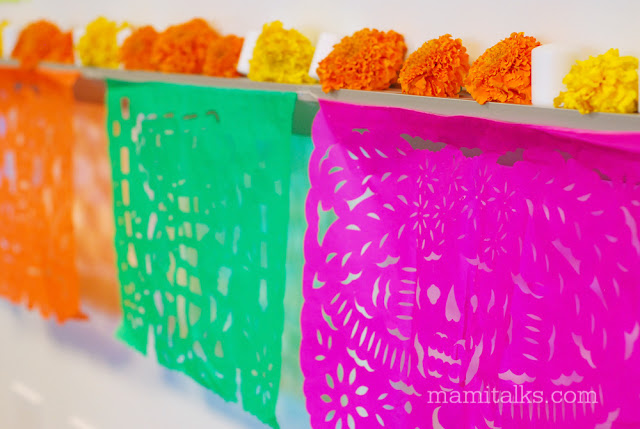
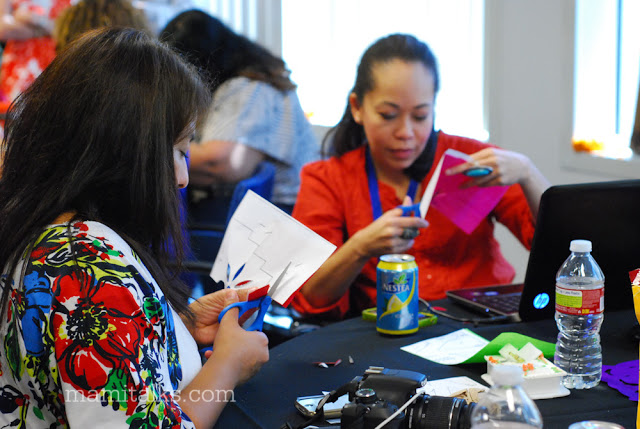
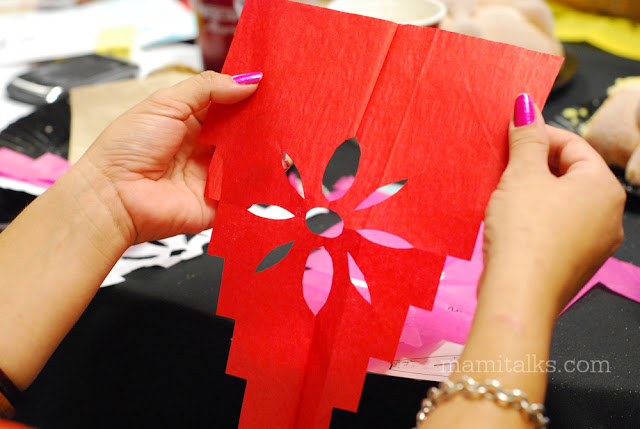
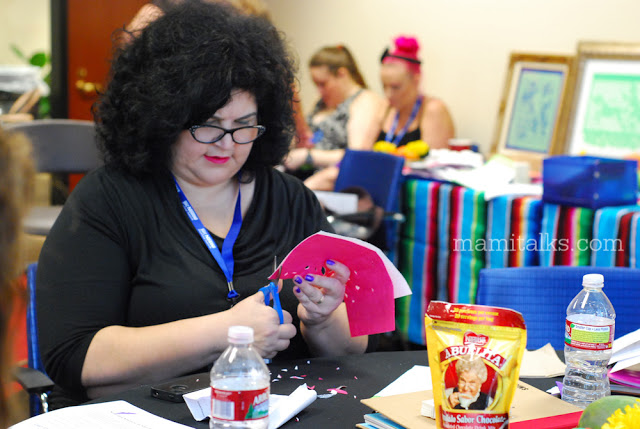
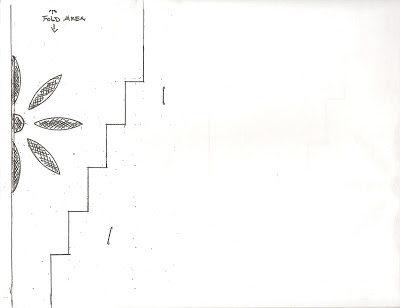
At the Nestlé #ViveCultura event we made some papel picado and I was surprised at how easy it is to do! Today I wanted to bring you some tips on how to make papel picado that the master Marcelino Sifuentes gave us. I made 2 and one of them is with the template that posted here below that you can download and make your own!
What you will need:
- One sheet of paper (8 ½ x 11 inches)
- Multiple sheets of colored tissue paper (Colors can vary)
- Scissors
- Razor Knife (Optional)
- String and glue
Instructions:
- Cut the tissue paper down to the size of the sheet of paper, until you have 10-12 separate sheets
- Place your tissue paper in front of you so that the longest side is at the top. Fold down approximately one inch from the top of the paper to form a crease; this is called the “string fold”. Remember not to cut through this fold, since a string will be glued to it later .
- Fold the sheet of printer paper in half and draw a design of your choosing (or download a design from the internet) on one half of the paper (avoiding the “string fold”; try to do a design that is symmetrical .
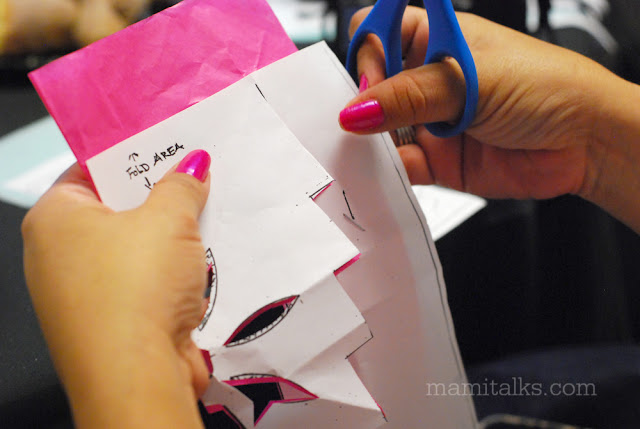
- Once your “template” is ready, open it up and place it on top of a stack of the tissue paper rectangles. Fold all of the sheets in half (along the same line as your template) and hold them down with paper clips.
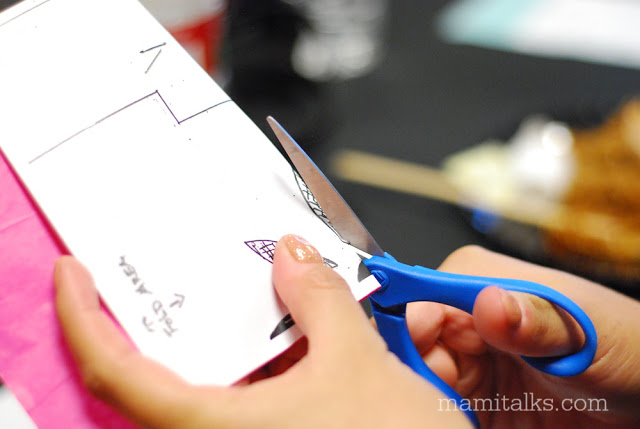
- Use scissors to cut along the lines of your design, making sure the papers don’t shift. If there are any small holes or intricate details, use a razor knife .
- After you are done cutting carefully unfold the sheets of paper and gently remove the pieces of paper that were cut out .
- Then, unfold de “string fold” of each sheet and lay them down in a row next to each other. Place the string inside the fold and glue down .
- Once it’s dry, you’ll be able to hang the papel picado strings around your home or on an altar.
Como ya les mencioné el viernes pasado, me gusta mucho las celebraciones del Día de los Muertos, aunque este año no tenemos altar en nuestra casa, voy a ir trayendo la tradición poco a poco a nuestra familia.
En el evento de #ViveCultura de Nestlé hicimos papel picado y me sorprendió lo fácil que es. Hoy les quise traer unos tips para hacer papel picado del mismo maestro que nos enseño ese día, Marcelino Sifuentes. Yo hice 2 y uno de ellos es el mismo de la flor que está aquí abajo que ustedes lo pueden bajr y hacerlo ustedes mismos, anímense!
Materiales:
- Una hoja de papel tamaño carta
- Varias hojas de papel de china (de muchos colores)
- Tijeras
- Navaja (opcional)
- Hilo y pegamento
Instrucciones:
- Corta el papel de china para que sea el mismo tamaño del papel tamaño carta, hasta tener 10-12 hojas .
- Pon las hojas de papel chino enfrente de ti, con el lado largo en la parte superior. Dobla aproximadamente una pulgada de papel hacia abajo, para formar un doblez donde pegarás el hilo al final del proceso .
- Dobla la hoja tamaño carta a la mitad y dibuja un diseño en uno de los lados (o baja el patrón que está aquí en este post) (evitando el doblez superior); trata de que sea un diseño simétrico.
- Una vez que tu “patrón” este listo, ábrelo y ponlo sobre varias hojas de papel de china. Dobla todas las hojas a la mitad y detenlas juntas con unos clips .
- Con tijeras, recorta alrededor de las lineas de tu diseño, asegurándote que las hojas no se muevan. Si hay algún detalle pequeño en tu dibujo, puedes usar una navaja .
- Una vez que termines de recortar, desdobla todas las hojas y con cuidado remueve los pedacitos de papel que hayan sobrado.
- Despues de esto, desdobla el “doblez del hilo” en la parte superior y pon las hojas en una hilera, una junto a la otra. Con el pegamento, adhiere el hilo dentro de este doblez para terminar con una cadena de papel picado.




No Comments