

Today I partnered with Got Milk to bring you this fun craft!
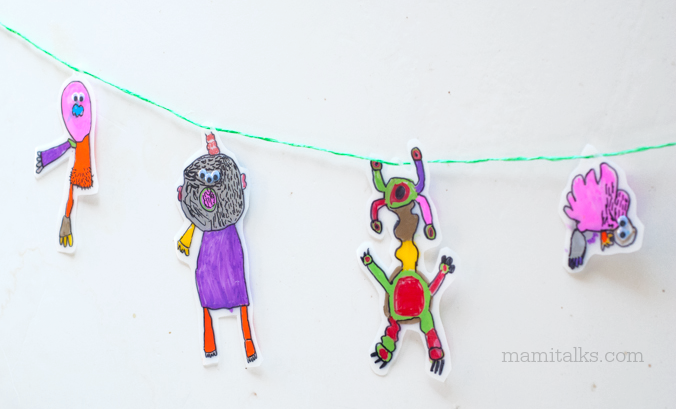
We go through lots of milk jugs here and I’ve always wanted to do something creative with them so that’s how these milk jug monsters were born, they are perfect!
Before I get into the step-by-step instructions of this fun milk jug craft I want to warn you that this craft/activity might be more fun and addicting than what it looks! Oh my gosh, the kids and I didn’t want to stop making these monsters!
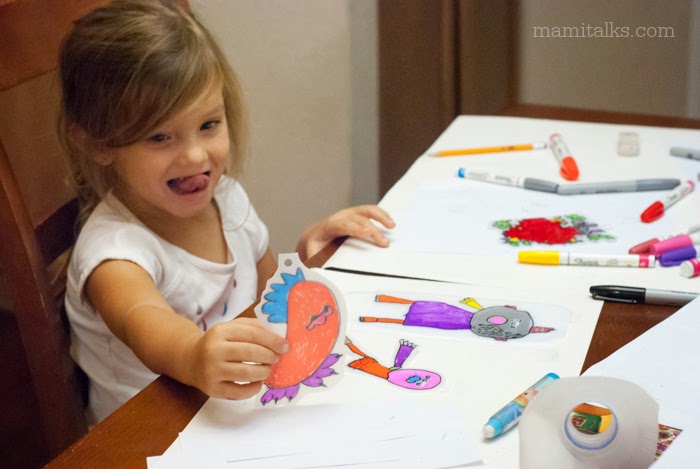
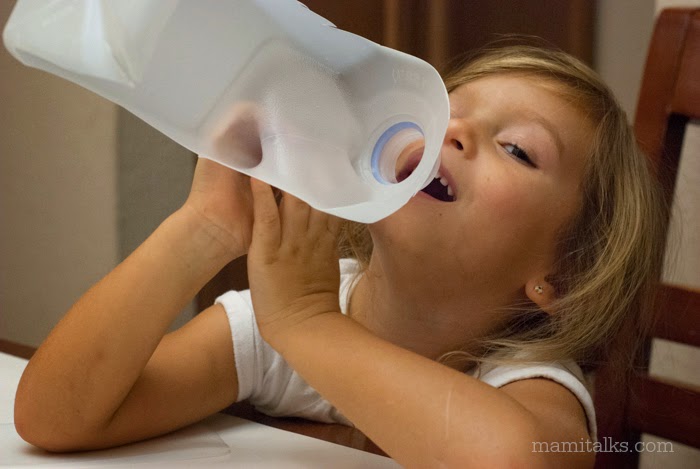
The cool part is that in addition to having fun and being creative, I reinforced the message of how drinking milk helps us fuel our days for all our activities like school, work, soccer and ballet. It helps us be more creative and develop better to become strong adults. Mayita was pretending to drink her milk straight from the jug ;).
So they started drawing and thinking of strong monsters that had milk and it all started from here. It’s amazing how you give kids a little sample and they run with it creating masterpieces!
The monsters each had a personality, if they were nice or not, or hairy or very strong because they had their milk. That’s why we didn’t want to stop, because each time they finished one they thought of one more different monster they could make!
They are pretty simple to make and they make fine decorations for the kids room or they can be used to play with.
How to make Milk Jug Monsters:
Supplies:
- Milk Jugs
- Paper
- Pencil
- Colorful permanent markers
- Scissors
- Tape
- Eyes for the monsters and craft glue (optional)
- Hole puncher (optional)
Instructions:
- Cut out flat pieces of plastic out of the milk jugs.
- Start drawing a monster with a pencil on a paper keeping in mind the size of your milk jug plastics so it will fit. Guide the kids to make the parts big enough to color later and tell them that the monsters can be however they want, they might have 4 eyes, 4 legs, antennas, and so on.
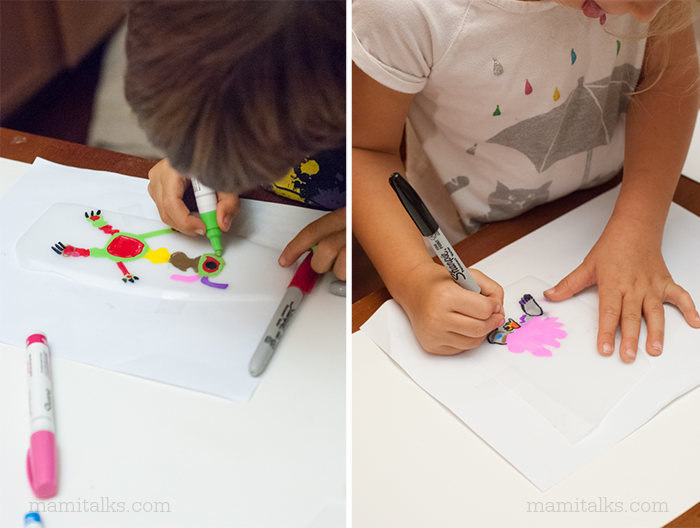
- After the pencil drawing is finished place a piece of plastic on top of it and tape lightly.
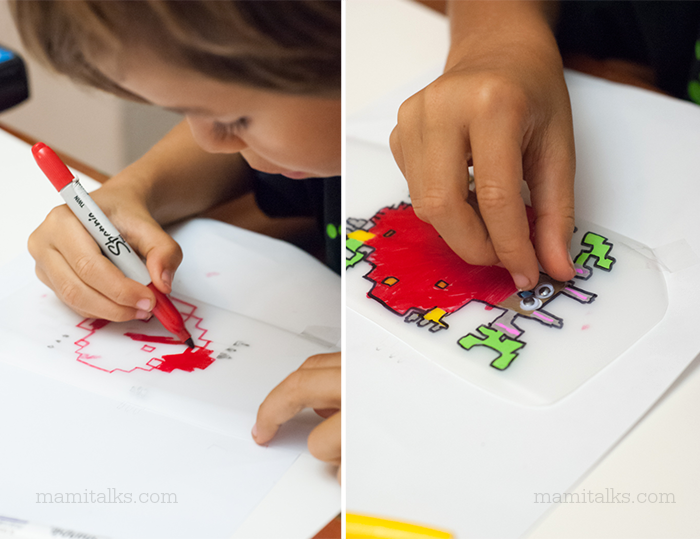
- Start coloring the monster with the markers.
- After all the color is done you can outline with black or dark color if you want. We added hair to some of them and the kids enjoyed that a lot.
- Glue eyes and let dry.
- Cut the monster out and leave a space on top of it to punch a hole if desired.
- Punch a hole and hang!
Disclosure: This is part of a sponsored campaign with Got Milk. As always, all opinions, ideas and stories are 100% my own.


– E S P A Ñ O L –
Hoy me asocié con Got Milk para traerles esta manualidad super divertida!
En la casa usamos un montón de envases de leche y yo siempre he querido hacer algo creativo con ellos así que así nacieron estos monstruos hechos con envases de leche, ¡perfectos!
Antes de decirles todas las instrucciones de estos monstricos les debo advertir algo: ¡Esta manualidad y/o actividad podría ser más divertida y adictiva de lo que parece! ¡Los niños y yo no queríamos parar de hacer estos monstruos!

Lo bueno es que, además de divertirse y ponernos creativos aquí reforzamos el mensaje de cómo tomar leche nos ayuda a impulsar nuestros días para todas nuestras actividades como el colegio, el trabajo, el fútbol y el ballet. Nos ayuda a ser más creativos y a desarrollarnos mejor para convertirnos en adultos fuertes. Mayita hasta hizo como si estaba tomándose su lechita directamente de la jarra ;).
Así que empezaron a pensar y a dibujar monstruos fuertes que toman leche y desde ahí empezaron las ideas. Es increíble cómo se le da a los niños una muestra pequeñita de lo que hay que hacer ¡y ellos van y hacen obras maestras!
Los monstruos cada uno tenía su personalidad, si eran buenos o no, o peludos o muy fuertes porque tomaron su leche. Es por eso que no queríamos parar, porque cada vez que terminaban de hacer uno pensaban en un monstruo diferente que podían hacer.
Estos monstricos son muy fáciles de hacer y pueden servir para decorar el cuarto de los niños o simplemente para jugar.
Cómo hacer monstruos con envases de leche:
Materiales:
- Envases de leche (de plástico)
- Papel
- Lápiz
- Marcadores permanentes de colores
- Tijeras
- Teipe
- Ojitos para monstruos y pega blanca (opcional)
- Abre huevos (opcional)
Instrucciones:
- Corta pedazos planos de plástico de los envases de leche.
- Comienza a dibujar un monstruo con lápiz sobre el papel teniendo en cuenta el tamaño de los pedazos de plástico para que quepa. Guía a los niños para que dibujen sus monstruos lo suficientemente grandes para colorearlos después y acuérdense que los monstruos pueden ser como quieran, puede ser que tengan 4 ojos, 4 patas, antenas, pelos y demás.
- Después de que el dibujo de lápiz esté listo pega un pedazo de plástico encima con el teipe.
- Colorea el monstruo con los marcadores.
- Después de colorear todo el monstruo se puede delinear con negro u otro color oscuro si quieren. Nosotros añadimos pelitos a algunos de ellos y los niños disfrutaron mucho eso.
- Pega los ojos y deja secar.
- Corta el monstruo dejando un espacio en la parte de arriba para abrir un agujero si lo desean.
- Abre un hueco, pasa un hilo y cuelga!

Aclaratoria: Este post es parte de una campaña pagada con Toma Leche. Como siempre todas las opiniones, ideas e historias son 100% mías.
1 Comment
Elvira
November 13, 2014 at 12:41 amQue bonitos MONSTRUO crearon, mucho trabajo divertido. Felicidades