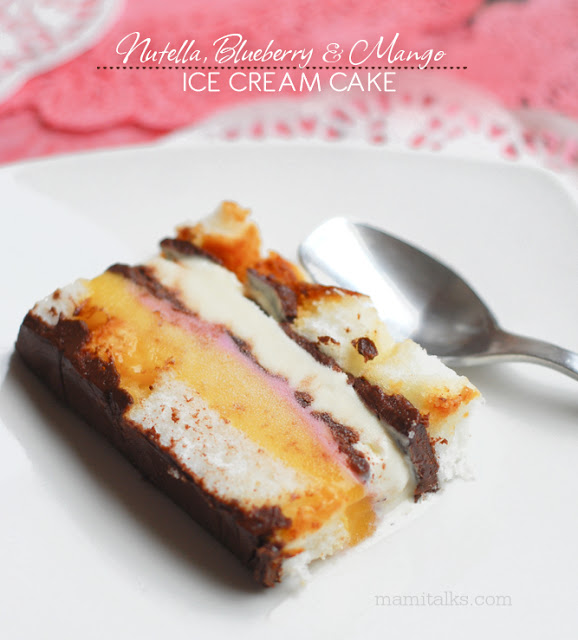
I am liking the idea of making ice cream cakes, it’s a fun and different way of eating ice cream. And it’s fun to think of what flavors to combine and how to make it.
For this one I thought about Nutella first because I really like Nutella, and then I thought about unique flavors to combine it
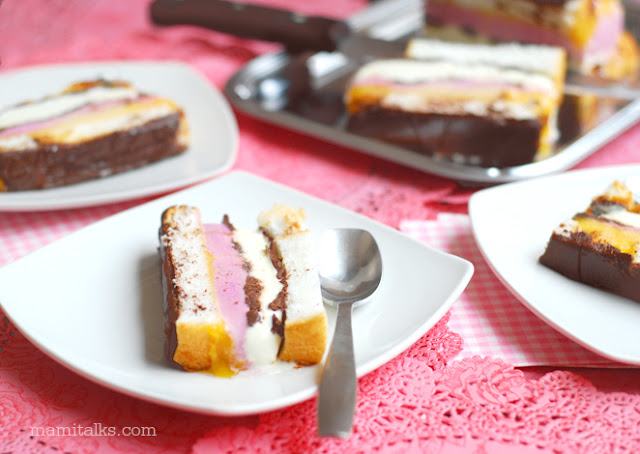
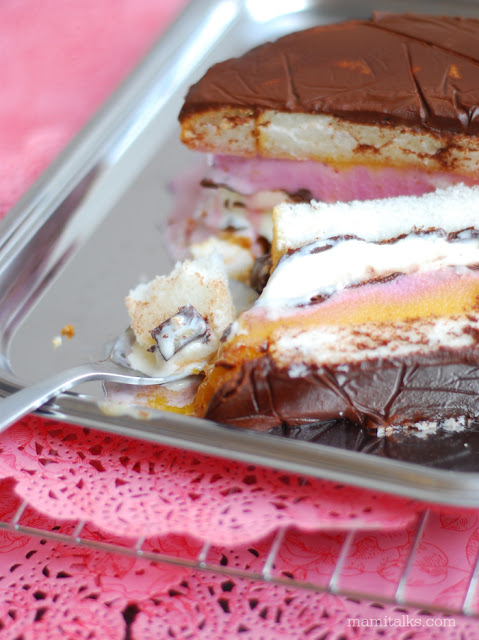
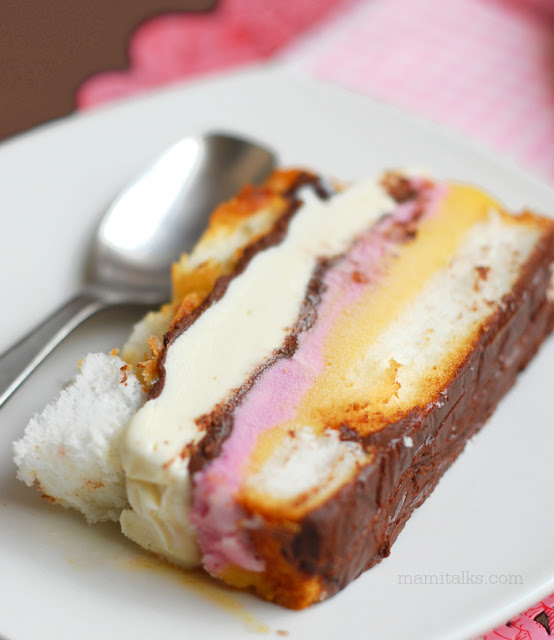
so I came up with the mango but when I was buying the ice cream I saw this blueberry/pomegranate creamy ice cream that looked delicious so I decided to include it too. And having different colors on the cake makes it look so pretty and perfect to take lots of pictures, although taking photos of ice cream is always a challenge and I feel I need to hurry!
Without much further ado, here is the recipe for the cake:
Nutella Blueberry and Mango Ice Cream Cake Recipe
Ingredients:
- 1 pint of vanilla ice cream
- 1 pint of mango ice cream
- 1 pint of blueberry ice cream
- 1 jar 13 oz of Nutella
- 1 Angel Food Cake (medium size)
- 9 x 5 inch loaf pan
- Plastic Wrap
Directions:
- Place plastic wrap on top of the loaf pan. Enough to cover height of the pan and wrap it around
- In a double broiler melt about 1/3 of the Nutella on low heat, pour it into the pan on top of the plastic wrap.
- Slice the Angel Food cake (about 1 inch thick) and place a layer of slices horizontally on top of the Nutella.
- Add the mango and the blueberry ice cream (you don’t have to use the whole pint of ice cream here, add enough to make a thick layer). Make it easier to spread by mixing it with a spoon or hand mixer until it’s soft. Place it in the freezer for one hour.
- Heat another 1/3 of Nutella and place it on top of the last layer of ice cream.
- Add the vanilla ice cream and place it in the freezer for one hour.
- Heat the rest of the Nutella and pour it over.
- Add the remainder of Angel Food cake slices and cover with the wrap.
- Place in the freezer for at least 2 hours.
- Take it out, turn it over, take the plastic wrap off and enjoy!
Me está encantando la idea de hacer tortas de helado, es una forma diferente de comerse el helado y es chévere pensar en que sabores combinar y que mas ponerle.
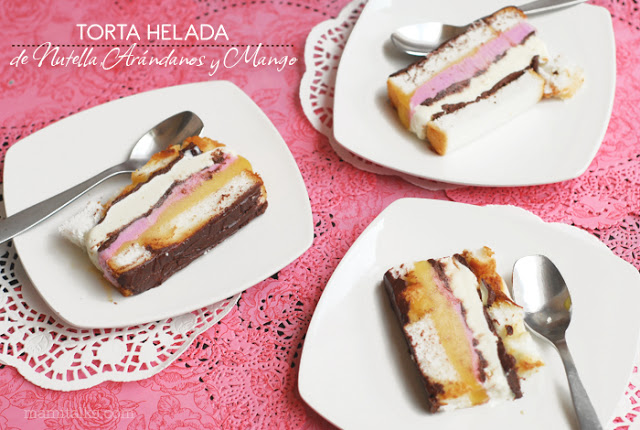
Para esta torta pensé primero que todo en Nutella porque me gusta mucho y después pensé en que otro sabor ponerle que sea rico y diferente así que se me ocurrió la combinación con mango pero después cuando estaba comprando el helado de mango me encontré con otro que decía helado cremoso de arándano y granada y no lo pude resistir, además meterle otro color le quedaba perfecto y mucho más bonita para la foto. Aunque claro está, tomar fotos de helado nunca es fácil, siempre me siento apurada!
Aquí les dejo la receta:
Torta helada con Nutella, arándanos y mango
Ingredientes:
- 1 pint (medio litro) de helado de vainilla
- 1 pint (medio litro) de helado de mango
- 1 pint (medio litro) de helado de mango
- 1 frasco de Nutella de 13 oz (370 gr aprox)
- 1 torta “Angel Food” ya hecha
- Un molde de hornear de 9 x 5 pulgadas (22 x 12 cm aprox)
- Plástico transparente de envolver
- Forra el molde con el plástico de envolver, deja suficiente para cubrir la torta por encima cuando esté lista.
- Pon a calentar la tercera parte de la Nutella a baño de María con llama baja, cuando esté más líquida viértela sobre el plástico en el molde.
- Corta la torta en rebanadas de aproximadamente 1 pulgada (2.5 cm) de grosor y has una capa sobre la Nutella.
- Añade el helado de mango encima de la torta (no tienes que usar todo el pote), sólo la mitad del molde y después añade el de arándano en la otra mitad haciendo una capa gruesa. Antes de añadirlos mezcla el helado con una cuchara o una batidora de mano un poco para que se haga más fácil de colocar. Coloca en el congelador por al menos una hora.
- Calienta otra tercera parte de la Nutella y viértela sobre el helado.
- Ahora vierte el helado de vainilla encima de la Nutella
- Calienta el resto de la Nutella y viértela encima del helado de vainilla.
- Añade otra capa de torta y envuelve todo con el plástico.
- Coloca en el congelador por al menos 2 horas.
- Retírala del congelador, voltéala, quítale el plástico y voalá… Lista!


4 Comments
Elvira
July 12, 2013 at 1:44 amSe ve delicioso. Me gustaria mucho probarlo.
MAYI
July 12, 2013 at 3:32 pmMama mia! Que cosa mas deliciosa! Se me hace agua la boca. Lindas fotos!
Gracias Dariela por la receta!
Dariela
July 12, 2013 at 5:26 pmGracias por sus comentarios! 🙂
Vanessa Aguirre
July 17, 2013 at 1:23 amEsta muy rica tu receta! Gracias por compartir 🙂