

During this time of the year the area where we live starts to get full of pine cones and then I start thinking of what to do with them. Well, I found this cute turkey pinecone idea at Martha Stewart and I thought it would be easy to do so we did it! (BTW, this was last year’s place sets for our Thanksgiving table, I just didn’t have much time to post it so here it is now!)

Turkey pine cone place sets
You will need the following:
- Pine cones (washed ad dried)
- Craft feathers
- Colorful pipe cleaners
- Light cardboard and pen/marker
- Craft glue
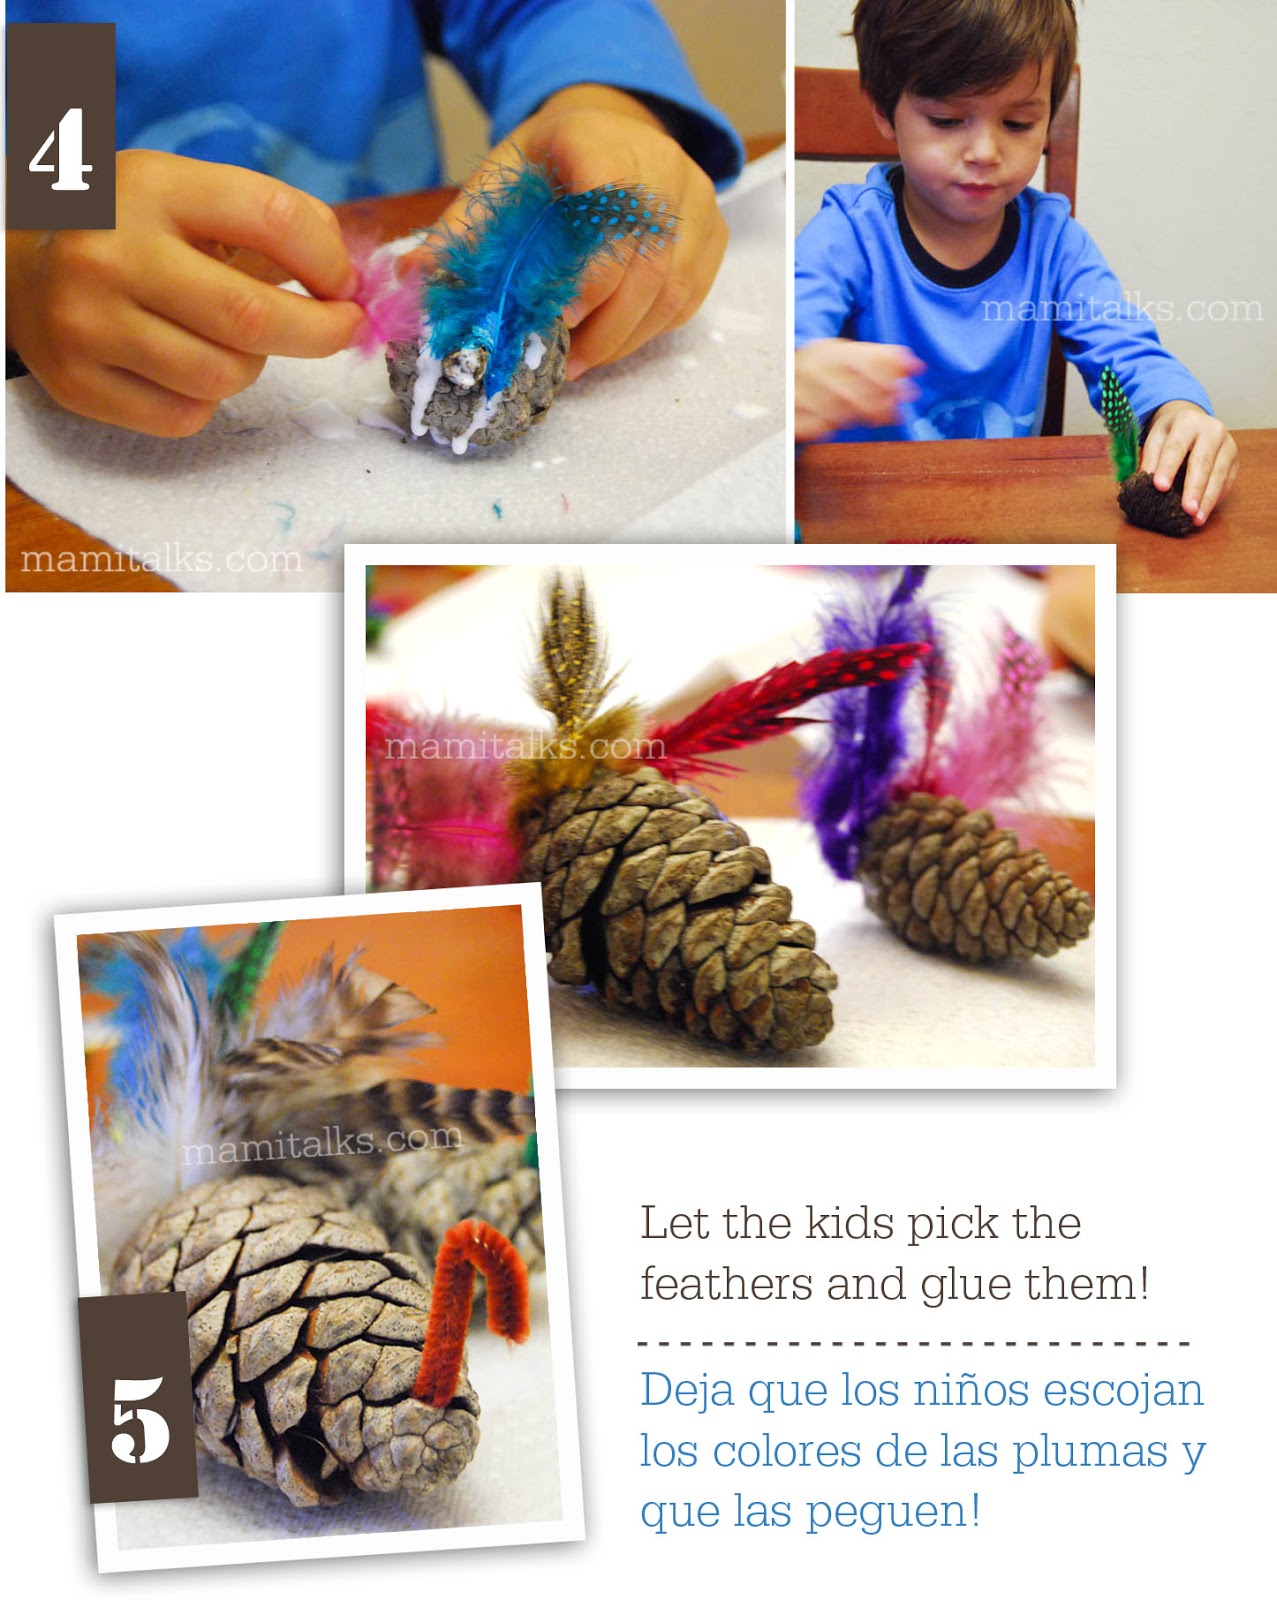
Pick 2 or 3 feathers and glue the bottom of them to the bottom part (bigger side) of the pine cone, let them dry.
Cut a pipe cleaner to measure 2-3 inches length, bend it to form a little hook or what will be the neck and head of the turkey will be and then insert it to the other side of the pine cone, let it dry.
Cut small cardboard rectangles (you can use scallop scissors for a fun look!) and write the names for the place card. Place them underneath of each turkey and on top of the plate and napkin and they are done!
Adrian enjoyed it so much, I think I have to find another craft because it’s just fun to collect them. Remember these pine cone trees we made too?

– E S P A Ñ O L –
Durante esta época del año, el área donde vivimos se empieza a poner full de piñas en el piso y entonces yo empiezo a darle vueltas a la cabeza y ver que podemos hacer con ellas. Pues, una de las cosas que hicimos fueron estos pavitos que encontré en Martha Stewart para usar de indicadores de puesto en la mesa del día de Acción de Gracias. (Por cierto, los hize el año pasado pero no me dió tiempo de postear antes de que se acabara el año así que aquí están ahora!)

Pavos hechos con piñas como indicadores de puestos de mesa
Necesitarán lo siguiente:
- Piñas de árbol (lavadas y secas)
- Plumas de manualidades
- Limpia pipas de colores
- Cartulina y marcador
- Pega blanca de manualidades
Escoge 2 o 3 plumas y pégalas en la parte de bajo de la piña (la parte más grande), déjalas secar.
Corta un limpia pipas que quede como de 3 a 6 cm de largo, dóblalo en forma de gancho (es lo que vendría siendo el cuello y la cabeza del pavo), agrega un poquito de pega y luego insértalo en el otro lado de la piña. Deja que seque.
Corta pequeños rectángulos (usa tijeras de piquitos para que queden con un toque chévere!) y escribe los nombres de cada persona. Pónlos debajo de cada pavito y encima de cada servilleta y plato y listo!
Adrian estaba encantado de hacerlos, tengo que seguir buscando más manualidades para hacer con piñas! Se acuerdan los arbolitos de navidad con piñas que hice?

3 Comments
Elvira
November 20, 2012 at 1:59 amSon lindos y faciles de hacer.
Ruby
November 20, 2012 at 3:46 amThis is too cute! What a creative craft amiga!!!
Dariela
November 20, 2012 at 9:55 pmThanks ladies!! It was definitely fun!